
Okay, okay...so I was intending to put up a recipe of some kind, at least something food related. But here is another craft instead. *Sigh* It's all because of the root canal, you see. Food and I aren't getting along well at the moment. So I decided to focus on the napkins and napkin rings that we made for Thanksgiving.
What I wanted most for Thanksgiving was a fun, relaxed atmosphere. Instead of getting fancy we made a lot of decorations for our table. It was a nice way to spend time together.
These napkins and napkin rings are simple and require few tools:
Large kitchen cloths, plain white
Masking tape
Fabric markers
Wax paper
An old wool sweater
Acorns
Hot glue gun

The first part of our fall themed napkins was to cut the large kitchen towels into four pieces. I bought these at Target. There were three of the huge cloths for $4. That makes 12 squarish napkins. The two unfinished edges need to be hemmed, but the best part is that the other two are already hemmed for you!
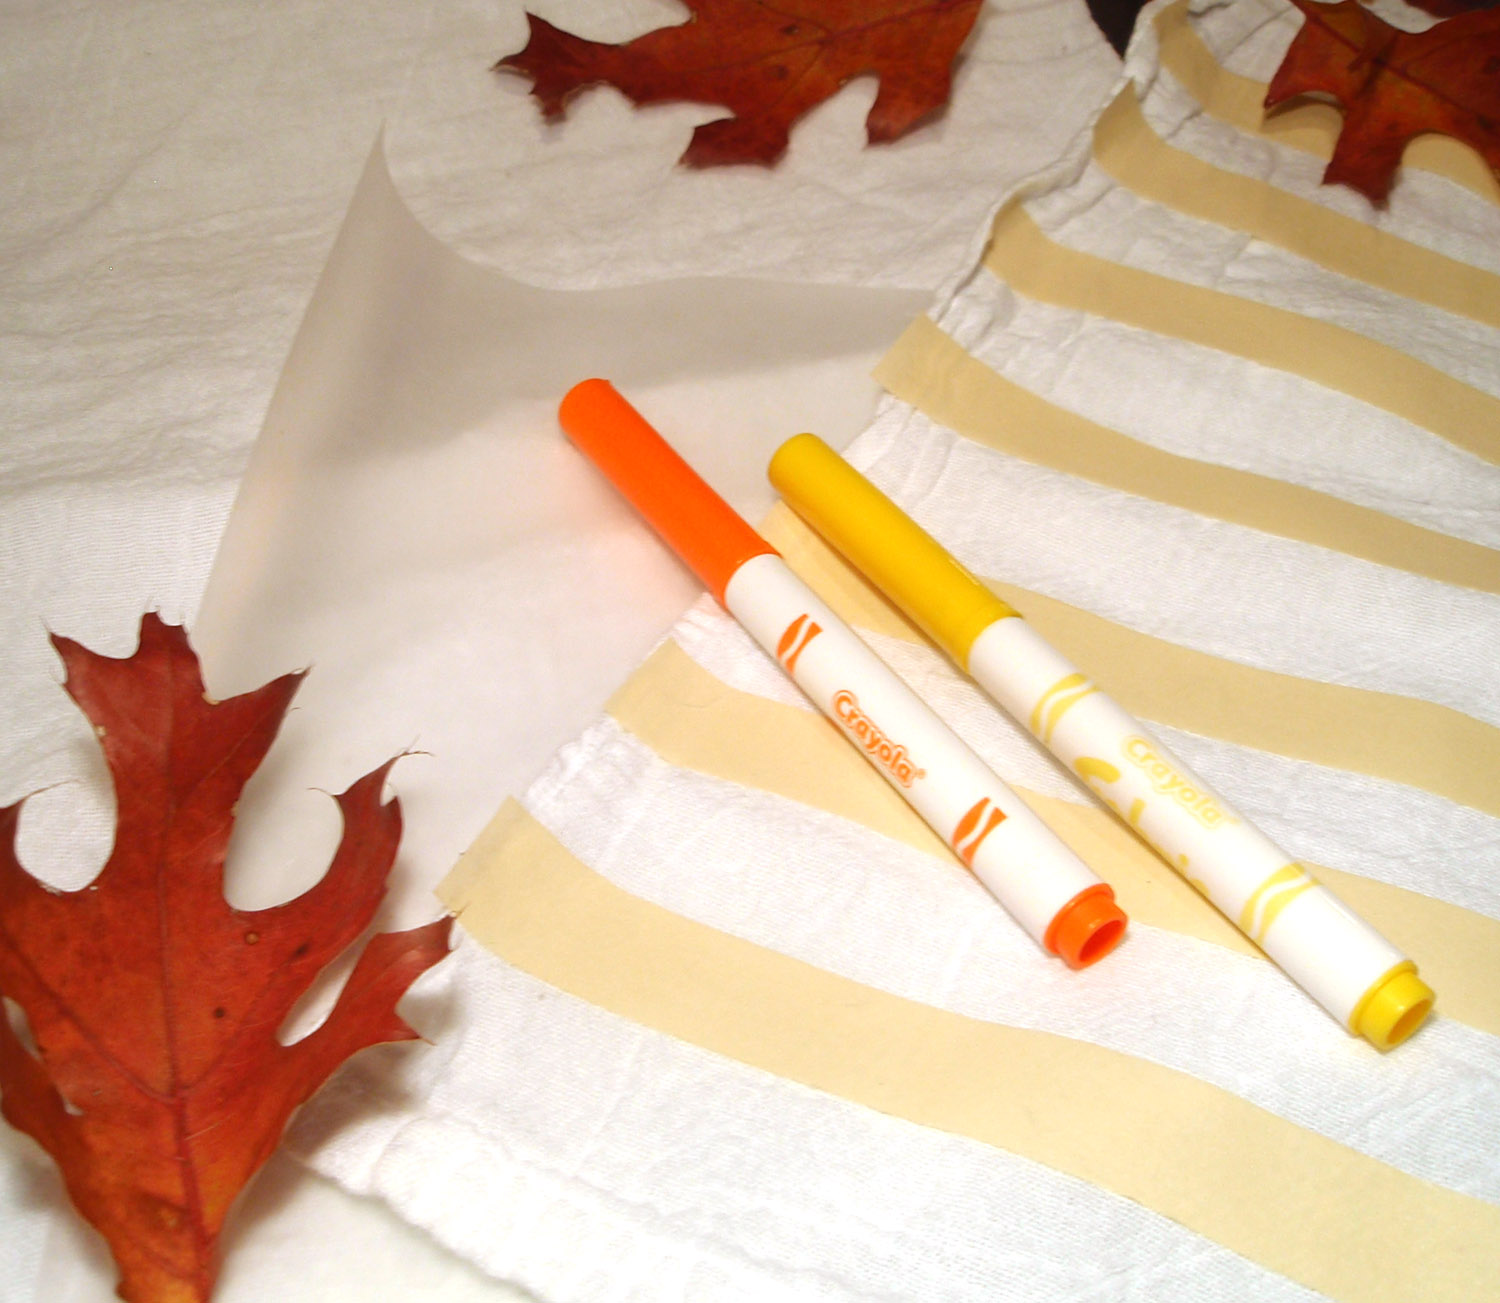
We cut strips of masking tape to mark out our lines across the napkins. If you want to get precise dimensions you can measure off equal placings for the tape. I let A-chan eye her spacing instead, which made for a more organic effect. To protect the table from any possible marker related mishaps we put sheets of wax paper under the napkins before we commenced coloring. She had a great time coloring between the pieces of tape!

As we removed the masking tape from the first set of lines we hooked all the strips onto the edge of the table so that we could reuse them going in the opposite direction. We varied the spacing on the second go so that there was more texture to the finished napkin. A-chan decided to do the second stripes in a rainbow pattern and see how the colors would all interact with the first orange and yellow stripes.

Here is a peek at some of our finished products. They were very easy to make and also pretty stress-free!

My next goal was to make some napkin rings. Explaining napkin rings to my 7 year old was akin to teaching a cat to sing. Our family is one that has perfected the art of casual eating. A fully set table happens exactly twice a year. She only understood the concept after a visit to Pier1 where I introduced her to dozens of beautiful renditions of napkin rings and their uses. The phrase "make-up for the table" became part of our lexicon that day.

If you are lucky enough to have a 100% wool sweater at home that you never use and wouldn't mind cutting up, you're all set. However, if you're like us, a trip to Goodwill was the ticket to felting goodness. Important note: only 100% wool will do. If there are other fibres in your sweater this will not work! To felt the sweater we washed it in hot water and dried it on the hottest setting three times - you want it to shrink. Originally it was a size that fit me but when we finished the felting process it was a perfect fit for A-chan.

All that was needed to make the napkin ring base was to cut across the sleeve of the sweater, leaving a circle of felted fabric that was perfect for a napkin ring. To add some extra autumnal cheer we took acorns that we had gathered a few days earlier and hot glued them to the napkin rings. In a matter of minutes they were all finished. A-chan was so proud to use the napkins she had made at our Thanksgiving table. As an extra bonus these napkins can also go to school with her bento lunches!


